Monday, October 26, 2009

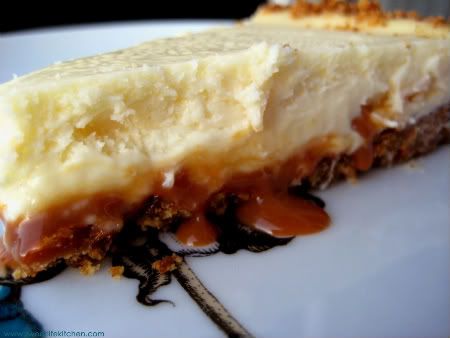
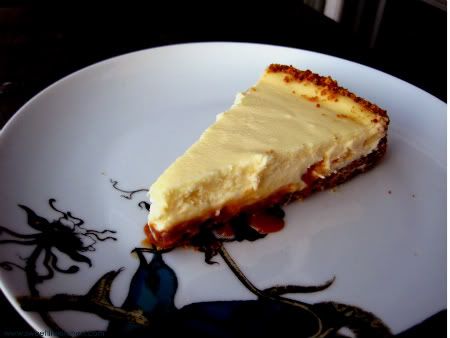
Caramel Bottom Gingersnap Cheesecake

Photobucket

I love cheesecake ever so much. One of the reasons I think cheesecake is so fabulous is that it's awesome plain, but also fantastic with all kinds of yummy seasonal or other-desserty flavors mixed in! A few years ago I made PUMPKIN CHEESECAKE BARS http://www.sweetlifekitchen.com/2007/09/pumpkin-cheesecake-bars.html, but since I had recently made MINI PUMPKIN CHEESECAKES this fall, I wanted to try something with caramel instead of pumpkin.
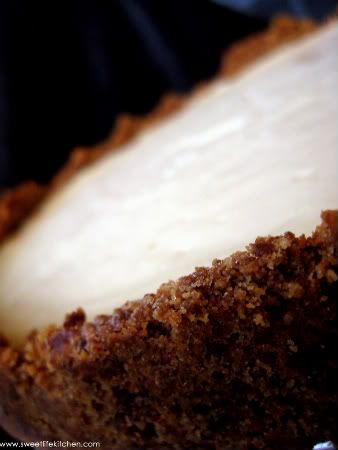
This cheesecake has a gingersnap cookie crust that seriously tastes like candy, it's really good!!

I made this one up on the fly- so email me if you have any questions or if my explanation of crust measurements is confusing beth@sweetlifekichen.com
Photobucket

Crust
Heaping 3/4 cup of graham cracker crumbs
Heaping 3/4 cup of ginger snap cookie crumbs (I put a few handfuls of cookies in the food processor and blasted them)
6 T butter melted
2-3 T Brown sugar
1 T white sugar
Teeny pinch of cinnamon

Filling
2 handfuls of caramel cubes

2 8oz bricks cream cheese, room temp
2 eggs room temp
1 T brown sugar
1 cup sugar
2 tsp vanilla
Photobucket

Pre-heat the oven to 375. Spray a 9-inch spring form pan with some non-stick spray and mix the graham cracker and gingersnap crumbs with the sugar and pinch of cinnamon in a medium bowl. Drizzle the melted butter into the crumb mixture and toss with a fork and your fingers until all the crumbs are moistened with butter. Dump the crust mixture into the spring form pan and use the back of a spoon or bottom of a measuring cup to press it as evenly as possible into place. Bake crust 8 minutes, then allow to cool while you melt the caramel.
In a microwave safe bowl, slowly melt the caramel at 40 % power in 30-45 second intervals in the microwave. Stir after each zap until it is melty and there are no chunks.
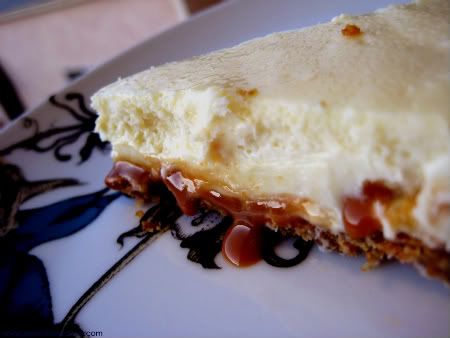
Slowly drizzle the caramel over the crust, you won't really be able to spread it cuz that will pull the crust apart, so just lightly drizzle it very slowly all over the bottom of the pan to get as even of coverage as possible. Let the caramel cool in the crust while you mix up the cheesecake filling.
In the bowl of a stand mixer, using the paddle attachment, mix cream cheese and sugar until light and fluffy add eggs one at a time and then the vanilla. Mix until completely smooth- scraping down the sides of the bowl and the bottom of the bowl once or twice to be sure you get any lumpiness outta there.
Pour the cheesecake mix over the caramel in the crust. Place a 9 x 13 pan half full of warm water on the bottom rack of the oven and the cheese cake right above it on the middle rack.
Bake at 400 for 55 minutes or until a cake tester comes out clean.
let cool then refrigerate at least 3 hours before serving. The caramel starts to melt right away when you slice this and serve it. DELICIOUS.
Photobucket

Sunday, October 25, 2009

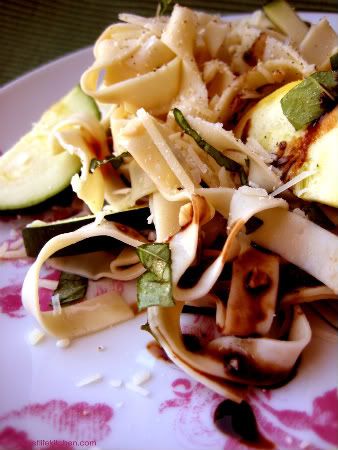
Calabrese Pasta~ Sunday Dinner

Photobucket

Nate and I are both Italian on our mother's side, and happen to really, really love Italian food. We make HOMEMADE RAVIOLI with his family every Easter, and love making homemade pasta and LASAGNA here at home when ever we can.
I recently received a copy of Cucina Di Calabria and I've been VERY excited try one of the recipes!
My mother's family comes from Calabria, which is in Southern (the "tip of the boot" to be exact)Italy. When I was working on the post for BRACIOLA I realized that both Nate and I grew up with Sunday Dinner. Every week, no matter what was going on, on Sunday the whole family gathers for togetherness and homemade dinner. There are so many things that make it hard for the whole family to get together for dinner; soccer practice, play rehearsal, board meetings, but not on Sunday. I am sure this is not just an Italian thing and that many families have this tradition, but it was something that as we've grown older and moved away from our parents, I'd not thought about it in a while.
SO...
I thought it would be fun to share this tradition with you by posting a great Sunday family dinner at least once every month!
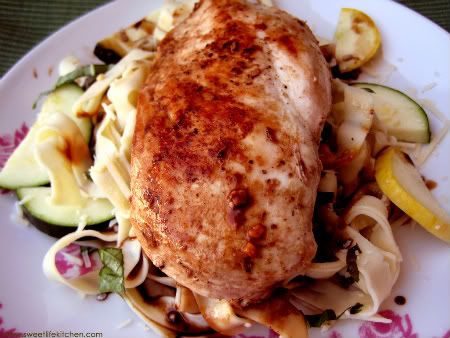
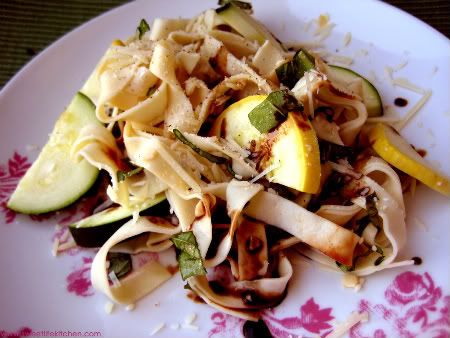
This Sunday dinner is my first recipe from Cucina Di Calabria, for basic pasta. I was trying to keep dinner a little lighter, so I added some veggies and basil and served this with an easy, flavorful chicken.

Photobucket

Serves 6

Pasta
1 1/4 cup flour
2 egg
pinch of salt

Lightly dust a clean surface with flour. Pour out the 1 1/4 cups flour into a mountain and use the back of a 1/2 c measuring cup to create a crater in the top- making the flour look like a volcano/ Crack the eggs into the crater. Use fork and your well-floured fingers to mix in a bit..then use hands to fully incorporate egg into flour~ knead, knead, knead about 5 minutes....
Separate the dough into golf ball sized balls and let rest on a flour coated towel, lightly covered with another flour dusted towel about 10 minutes. Using a pasta roller, take one of the pasta golf balls and smash it flat with your hand, then feed it through largest setting on the pasta roller twice, then fold in half lengthwise, run through again, fold again lengthwise and run through again, then move to second largest setting and run through, fold and run through once more before moving to third largest setting- repeat until you are on the 5th setting, then run through 6 th setting once, don't fold and set the sheet of dough on floured cloth- repeat with all 6 golf balls of pasta- then run sheets through pasta slicer and dry on rack or floured cloth to dry until ready to fridge, freeze or boil.

Photobucket

Wile the pasta dries, chop up and prepare the veggies~
1/2 yellow squash diced
1/2 zucchini diced
1 T garlic, minced
2-3 T fresh Basil, chopped
Salt, pepper
Balsamic drizzle
Parmesan & Romano

Set veggies aside and make the chicken.
While you make the chicken, put on 8 cups of water to bring to a boil for the pasta.

Chicken
6 chicken breasts
Juice of one lemon
1 T garlic
2 T olive oil + more for cooking
2 T balsamic vinegar
Salt & pepper

Rinse 6 chicken breasts and pat dry. Lightly sprinkle with salt and pepper and place in a shallow dish. In a small bowl mix the lemon juice, garlic, 2 T oil and 2 T balsamic and whisk until combined.
Pour the lemon juice mix over the chicken and let stand 5 minutes.
Heat enough olive oil to cover the bottom of a large skillet, then add chicken.
Cook chicken about 7 seconds each side.
Meanwhile when the 8 cups of water comes to a boil, add the pasta and boil about 8 minutes.
When the chicken is cooked through and golden on both sides, remove from heat and set aside.
Drain pasta. Place drained pasta in a large bowl and toss in the squash, zucchini, garlic and basil.
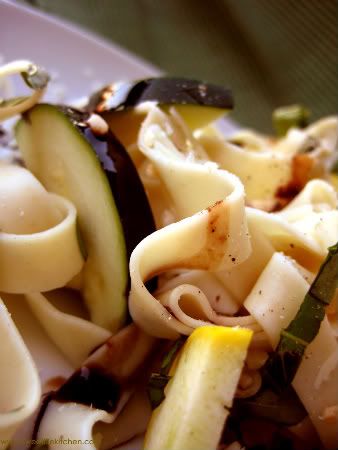
Add a serving of pasta with zucchini, squash, garlic and basil to each plate, drizzle balsamic over the pasta and sprinkle with Romano and Parmesan cheese, serve with chicken cut up on top or on the side.

Photobucket

MENU:
KELLE SALAD
CALABRESE PASTA
MINI CHOCOLATE MOLTEN CAKES!!!
~Happy Sunday~

Tuesday, October 20, 2009

Mini Pumpkin Cheesecake Pies

Photobucket

Well, it's about time! This is the first pumpkin recipe I've posted this season and it's darn near Halloween already!!
I have been pretty swamped at work, holiday time = busy jewelry bees. I had the pleasure of career coaching down at G.I.A. last Friday and as I enjoyed a gorgeous day by the Pacific Ocean in Carlsbad, glowing in the 85+ degree heat, I actually found myself thinking about Fall...no, really! We got a wee little peek at Fall earlier last week, with some yummy, rainy weather, but it only lasted a moment. In hopes of some cooler temperatures I'm sharing this very easy Pumpkin Cheesecake Pie recipe to help lure the Fall back to L.A.

With some major tailgating ahead this Saturday, it'd be fun to get out the hoodies & jeans for this game!! C'mon Fall!!

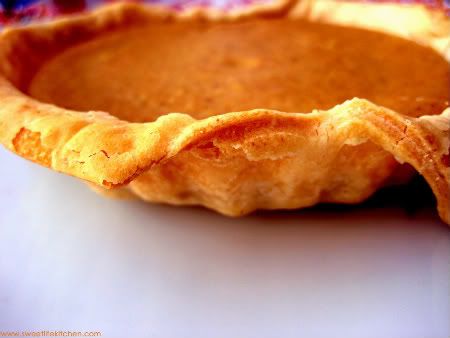
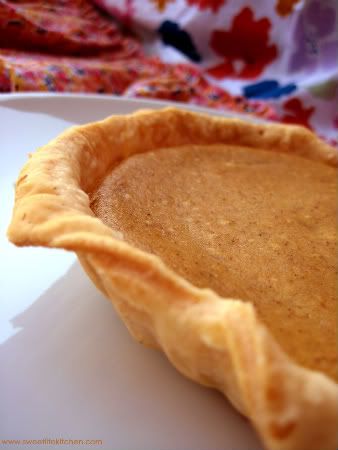
I used 4 mini-tart pans for this recipe, but it would also work in a regular 8" diameter pyrex pie dish.

2 prepared 9 inch pie crust (you'll need about 1 1/2 for the 4 mini tarts and 1 crust if you are going with the 8 inch pie)
1 8oz brick of cream cheese softened
1 egg
1/2 cup sugar
2 T brown sugar
1/2 15 oz can pumpkin
1/4 heaping tsp cloves
1/4 tsp. nutmeg
1/2 tsp. ginger
1/2 tsp. cinnamon
1/2 tsp vanilla

Pre heat oven to 400 and line 4 mini tart pans or single pie place with prepared pie crust. Butter a piece or pieces of foil and, press, buttered side down into the crust. Bake 8 minutes at 400 remove foil, and bake another 5 minutes. Reduce heat to 350.
To make filling, mix cream cheese and sugar in the bowl of a stand mixer using the paddle attachment until fluffy. Add the vanilla, then spices then pumpkin. Until all ingredients are well combined. Fill a separate pyrex with a few inches of water and place on the bottom rack.
Fill each mini pie or the single pie plate 4/5 full bake on the middle rack about 30 min for the minis and about 45 minutes for a regular sized pie or until butter knife comes out clean.

More pumpkin recipes (and hopefully FALL WEATHER to come...)

Photobucket

Friday, October 16, 2009

Pillsbury Cinnabon Cinnamon Rolls- Apples & Bannans~

Photobucket

Last fall I was blessed to receive some sample product from Pillsbury! Check out some of the recipes I already posted HERE.

Photobucket

We had gobs of great stuff and wanted to each create something different with the packages of Pillsbury Cinnabon Grands Cinnamon Rolls. Nate chose to make a cinnamon roll apple pie pocket, and I made mini-cinnamon roll bananas foster bites.

Photobucket

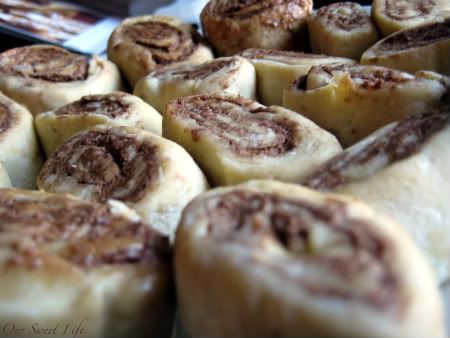
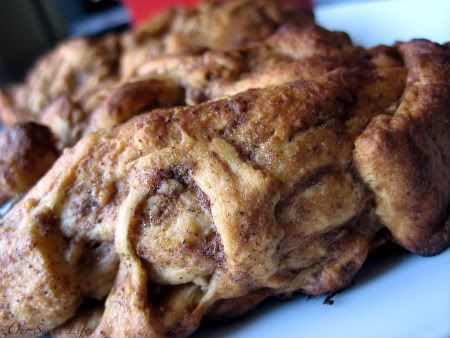
To get an idea of the taste and texture of the rolls, I baked up one regular size and two mini rolls before we got started.

Photobucket

Ironically, Nate and I BOTH happen to be people who do not like cinnamon rolls and have never actually had Cinnabon, (GASP!) but we still enjoyed these ooey-gooey rolls and the fun creations that we made! Just to be sure, we had some friends taste-test as well and they gave the thumbs-up. I think for a super-easy, hot, sticky cinnamon roll these are a great time saving dessert or component to a dessert.

Photobucket

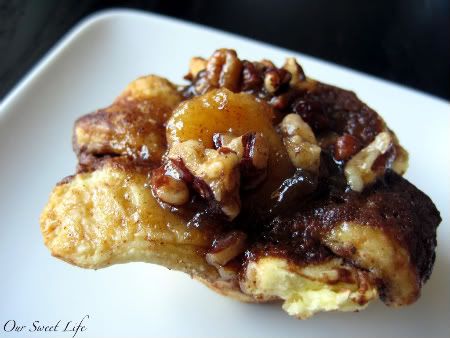
BANANAS FOSTER CINNABON CINNAMON ROLLS
By Beth G

1 package Mini Pillsbury Cinnabon Cinnamon Rolls

Bananas Foster Filling
1/4 c unsalted butter
2/3 c packed brown sugar
3 T dark rum
1/4 tsp cinnamon
1 1/2 tsp fine vanilla extract
3-4 bananas sliced (lengthwise, in slices, in bits)- depends on how you are serving it...for this recipe I cut the banana in to little bits
A big hand full of coarsely chopped pecans

Combine the butter, brown sugar, rum, cinnamon and vanilla in a skillet and heat to boiling. Add bananas and cook stirring constantly for about 2-3 minutes.
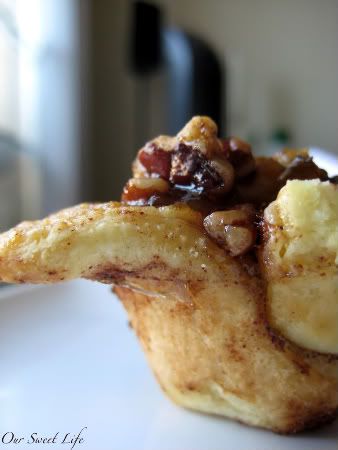
Grease a mini muffin tin and start peeling the mini cinnamon rolls apart, pretty much un-wrapping them. Rip strips off and layer them in the mini-muffin tin and press down to create a little cinnamon roll dough cup.
Then spoon the bananas foster into the cinnamon roll cup & bake at 350 for 15-20 minutes until cinnamon rolls are golden.
This makes 12 mini-rolls, I actually set aside two of the mini rolls that I pushed the center out toward the outside creating a hole in the middle, like a doughnut. Then I spooned the bananas foster into the center, and baked on a greased cookie sheet at the same temp and time above. We liked both styles, the second method- creating the hole in the middle was even easier than taking them apart and would make a great party dessert!

Photobucket

APPLE PIE POCKETS with PILLSBURY CINNABON CINNAMON ROLL CRUST
By Nate G

Nate used the large/regular sized cinnamon rolls, he got super messy and creative and used the cinnamon roll dough as a personal pie pocket crust.

Photobucket

1 package Pillsbury Cinnabon Grands Cinnamon Rolls
(6 rolls, makes 4 pies)
3 apples, cored and chopped into little pieces
2 T water
2 T flour
2 T sugar
2 T brown sugar
1/4 tsp cinnamon
2 T butter

Photobucket

Unroll the cinnamon rolls on a covered work surface (lay out some wax paper) and kneed into 4 flat ovals.
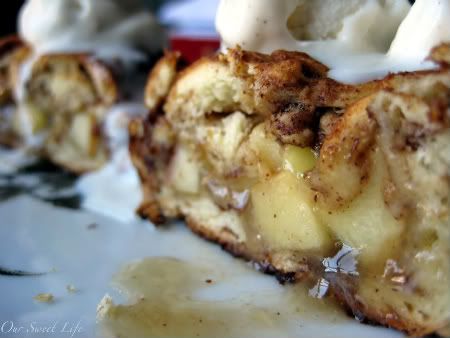
In a saucepan over medium heat combine the water, flour, butter, sugar, brown sugar and cinnamon, bring to a boil and reduce heat, add apples and cook stirring often for about 5 minutes.
Spoon apple pie filling onto the cinnamon roll dough discs and fold over to create a pie pocket. Press the edges firmly to seal. Bake at 350 for 20 minutes or until dough is golden brown.

Photobucket

Monday, October 12, 2009

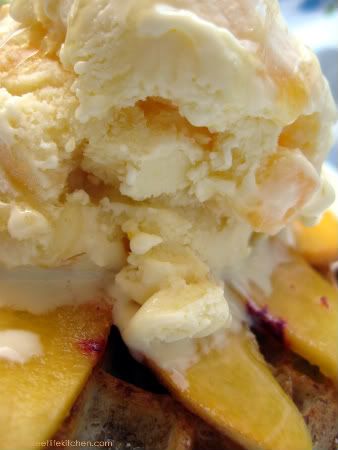
Peach & Ginger Vanilla Ice Cream

Photobucket

Ok, I get it. Summer is OVER. Ya, I know...it is dipping into what I like to call the "dangerously low 60s" here in SoCal, and I'm not kidding. BRrrrrrrrRRRRrrrr. So in trying to keep the dance that is my life moving I have become a little behind (again) in my blog updates and have one last summer-rewind here for ya. I know many of you do this juggle with jobs, relationships, kids (or weenie dogs in our case), trying to jam in some exercise and relaxation here and there...you know, "The Drill".

Well, Summer of 2009 proved to be UBER-drilly for us, in the best way ever...we managed to maintain our Clark-Kent-esque day job-lives as program writer/operations manager (for Nate) and managing the beautiful business of bling in Drop Dead Gorgeous® jewelry (for me), while still spending gobs of sunny days at dog beach, AND eating/drinking our way through 5 food/drink festivals, enjoying wild night at Medieval Times, tackling a drive up and down California's beautiful coast, and nearly finishing (we'll make it to the breakers next time) our first Bay2Breakers, to mention a few of the highlights.

Photobucket

To me the timing of this peachy, summery ice cream post is just right- it rained today. Yup, here. In L.A., totally misted. As the clouds get darker, the sun sets earlier and we are apparently in for some "weather" over the next few days, so I am going to post this and leave it to look at and long for next summer, at least until the weekend comes!

The fall twist to ice cream making is that is takes a few hours and you do need to be all up on it every 30 minutes, this is a GREAT dessert to make while watching football games on Sundays, then enjoying a sundae after dinner with super creamy home made 'scream!!

Photobucket

Peach & Ginger Vanilla Ice Cream
(no ice cream maker involved, 'cuz I don't have one!)

1 cup whole milk
1 cup heavy whipping cream
3 egg yolks
5-6 T sugar
1 tsp vanilla
2 handfuls frozen peach slices, chopped into little pieces
1 tsp fresh grated ginger

In a medium sauce pot bring the milk & cream to a rolling boil. While that heats up, in a medium bowl whisk the egg yolks and sugar until thick and well combined. When the milk/cream is boiling, remove it from the heat, and while slowly stirring, gently and slowly pour about 1/3 of the milk/cream into the egg/sugar mix & stir until incorporated...then slowly, while constantly stirring add the rest of the cream to the yolk/sugar mix and stir until all ingredients are well mixed. (this will "temper" the eggs so they don't get cooked by the milk/cream) Pour it all back into the sauce pot and heat on medium heat, stirring constantly for about 5-7 minutes. You want the custard to get thicker and not heat over 180 degrees.
Pour the thickened custard into a glass bowl and add vanilla, peaches and ginger, stir well and refrigerate until chilled through. Pour chilled custard mix into a glass/pyrex baking dish and place in freezer for 45 minutes.
After 45 minutes, stir well with a whisk. Place back in freezer for 30 minutes....continue to take it out and whisk every 30 minutes for about 3 hours and transfer to an airtight container to keep in the freezer.

Photobucket

I think this makes a faboo dinner party dessert, my favorite kind- dresses up easy!!
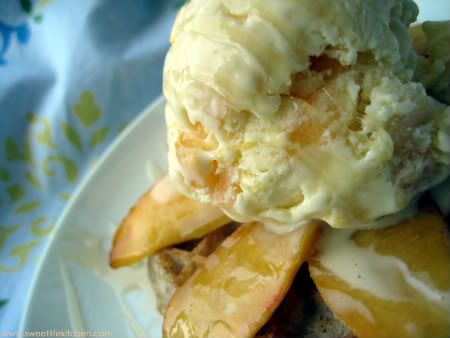
Toast a frozen waffle, thinly slice a peach and arrange peach slices on top of toasted waffle then add a scoop of this yummy ice cream and drizzle with honey! YUM & EASY!!

~This recipe was created by adapting the Vanilla Ice Cream recipe from Baking; From My Home to Yours by; Dorie Greenspan~

Friday, October 9, 2009

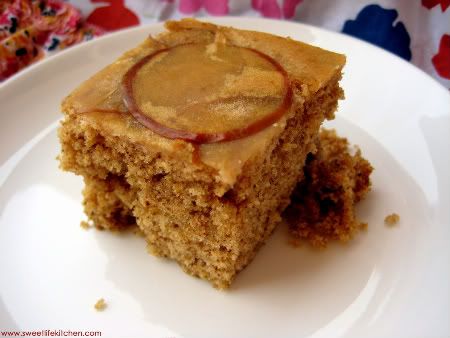
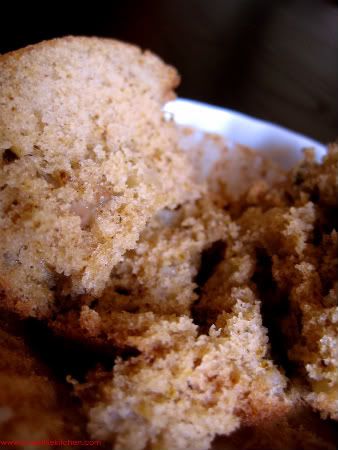
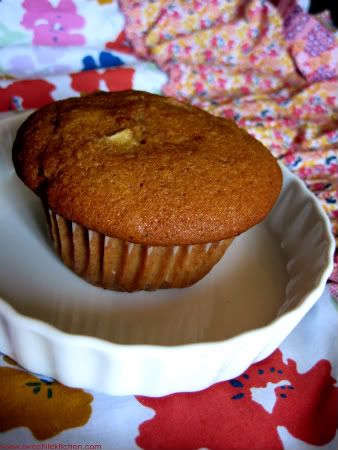
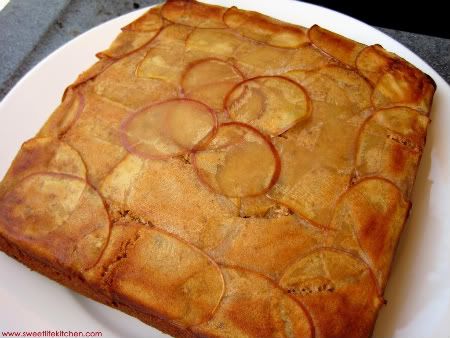
Applesauce Buttermilk Spice Cake

Photobucket

This is a fabulous recipe to make a week or so after a fall apple picking trip, it includes fresh chopped apples AND apple sauce, so it helps you get the most out of all those apples!! I created this recipe to submit to Food52's Best Apple Cake contest. If this is the first you're hearing about food52, you need to bounce on over and check it out right now!! This is a website where each week Amanda & Merill post two categories, anyone can submit a recipe and then they actually make and taste-test the finalists!! Even better, once they select the top two, you and everyone you know can vote for the winning recipe which will be included in the cookbook published after a year, 52 weeks of this fabulous project.

My apple cake didn't make the cut, but it made Nate and my office pretty happy!!

Photobucket

Here's what you'll need;
2c cake flour
1 tsp baking soda
1 tsp baking powder
1 tsp cinnamon
1 tsp ground cloves
1/4 tsp ground nutmeg
1/4 tsp allspice
1/4 tsp ground ginger
1/2 cup brown sugar
1/2 cup white sugar
then 1/3 cup white sugar
1 cup buttermilk
1 tsp vanilla
1/4 cup shortening
1/4 cup butter, room temp
1 egg
1/3 cup applesauce
1 to 2 apples

This recipe will fit 1 8x8 pan + 6 muffins (that's what I did here)
18 muffins or a 9 inch bundt cake pan.

In a medium bowl combine the flour, baking soda, baking powder, cinnamon, cloves, nutmeg, allspice, ginger and set aside.
Finely chop 1 of the apples...it's ok if you eat some of this while you're baking, Nate ate about a 1/4 of mine and this came out fine!
Pre-heat the oven to 400. Prepare cake pan with non-stick spray and if you are making muffins only, line the muffin tin with paper liners.
Only if you are using the rectangle or square cake pan,and want the apple-topped cake, slice up the second apple using a mandoline slicer. This will make thin apple chips ;o)
In the bowl of a stand mixer, using the paddle attachment, combine the butter sugar and shortening until fluffy, then add the vanilla and mix until incorporated. Add the egg and mix, then the applesauce and mix. Slowly add the flour mixture and the buttermilk bit by bit alternating each, until all ingredients are mixed in.
Stir in the chopped apple bits.
Lay the thin apple slices all over the bottom of the pan, then pour the batter in.
For muffins and bundt omit the sliced apple chip step and just pour the batter in.
Bake muffins for about 18 minutes or until a cake tester comes out clean, bake the 8 x 8 about 25 - 30 minutes or until a cake tester comes out clean, the bundt cake may need just a bit longer than that about 30-40 minutes.

Photobucket

This was so delicious while it was still warm, it made Fall officially arrive in LA this week and I couldn't be happier!

Photobucket

Sunday, October 4, 2009

Braciola I~ Sunday Dinner

Photobucket

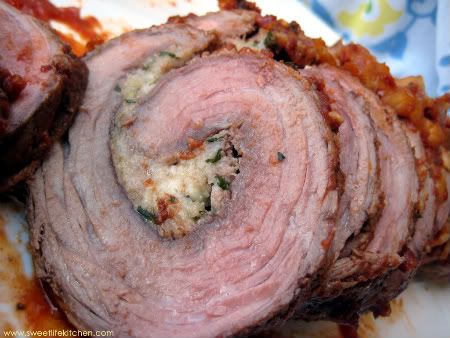
We're calling this Braciola I, because I anticipate there being Braciola II, III, IV, V, and so on....Where the heck has Braciola been all my life?!? I'd never had it before but heard of it last year at L.A.'s Feast of San Gennaro (which we just attended again this year, but couldn't find any braciole there)

I did some research and Braciola, or Braciole, plural (pronounced BRA-Sh-OLE)can be made many ways and depending on where the person you are talking to is from.
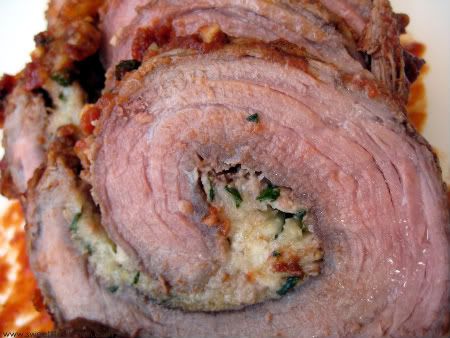
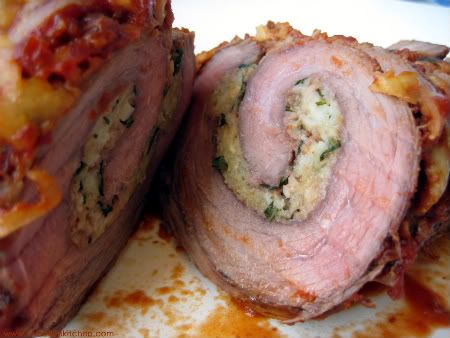
Per what I could find by poking around the internet and making a few calls to family members- this recipe would be classified as mainland-Southern-Italian Braciola. Which is, essentially, flat steak spread with cheeses, herbs, etc (that etc means what ever you can think of) and either fried, browned/baked, or browned then finished cooking in a big pot of sauce (that's the version you'll see here next time....)

For my first Braciola, I went with cheese & herb filling.

Photobucket

Serves 6
Steak~
2 lb flank steak
1/4 cup ricotta
1 small handful grated Parmesan
1 handful shredded mozzarella
2 cloves finely minced garlic
1-2 tsp each fresh chopped, basil, oregano and parsley
1/2 cup bread crumbs
String for tying it up (from a cooking supply store)

A MEAT NOTE:
If you are able to go to the butcher and have them cut the flank steak as thin as possible, that is awesome.


Sauce~
(you can totally buy a jar of your favorite sauce or doctor this one any way you like it is a very basic recipe that can be jazzed up a zillion ways)
1 can 15 oz tomato sauce, then one can full of water
1 12 oz can tomato paste, then one can full of water
1/4 cup shredded Romano cheese
2 T chopped garlic
2 T fresh chopped basil
1/2 tsp sugar
a few dashes red chili flakes
a pinch of salt and some fresh cracked black pepper
A little garlic powder (lightly sprinkle over the top of the pot and stir)
Olive oil

Photobucket

In a large sauce pot pour the tomato sauce, water,tomato paste, water and stir over medium heat until smooth add cheese, herbs, spices, salt & pepper, continue to stir until all ingredients are incorporated and then continue on medium heat until simmering. then reduce heat to low and stir occasionally while sauce cooks and thickens for about an hour.
After the sauce has been on low for about 45 minutes, start making the Braciola.

Use a meat tenderizer hammer to pound the steak a bit flatter if you buy it prepackaged and don't have the butcher slice it extra thin. In a medium bowl mix the filling ingredients- spread them all over the center of the steak and roll it up like a jelly roll! Secure it with 5 pieces of the string and tie tightly.

In a large pan heat a few tablespoons of olive oil on low(enough to lightly cover the bottom of the pan). Using tongs add the braciola to the pan and turn every 90 seconds browning all sides of the steak. (about 8-10 minutes total)

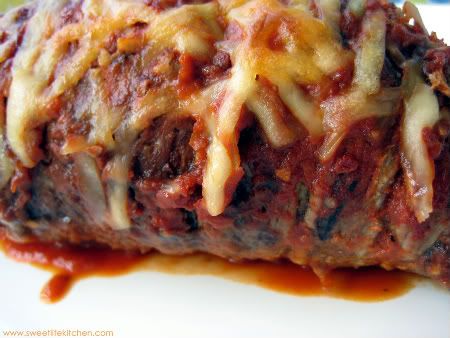
Preheat the oven to 350 and spray a baking dish with non-stick spray. Turn the heat off the sauce and let stand 5 minutes while the oven preheats. Add the browned braciola to the baking dish and ladle a few cups of sauce over the braciola- top with a little shredded mozerella (if you are using a jar of sauce- use one whole jar here, but have another jar on hand for serving it with.
Cook for about 1 hour and 30 minutes for "medium" a little longer if you'd like it well done.

I have to say, this was a very impressive meal with very little effort involved. The prep time is not too intense and the flavor is off the chain delicious.
This is an EXCELLENT dinner-party main dish. I made a giant salad to go with this and we ate it while watching football. Kelle brought amazing bruschetta that I ate way too much of!

I think think this would be a spectacular main dish for a dinner party of 6 people, here is a menu I would suggest that would be very easy to execute and a for sure hit with your guests...

Photobucket

Dinner Party Menu:
~Plated Appetizer~
Caprese Towers
Stack a1/2 inch slice of tomato, 1/2 inch slice of mozzarella, fresh basil leaf- repeat, dust lightly with cracked black pepper and drizzle with olive oil.

~Main Entree~
Braciola (or make individual Braciole with smaller pieces of steak!!) w/ garlic bread & steamed veggies and GLORIOUS SALAD, sub the spring mix with baby arugula to dress it up a bit!

~Dessert~
Raspberry Semifreddo